I thought Id make an English guide of how to upgrade/replace the MK7 Fiesta bulbs.
Covered in this guide:
# MK7 bulb types
# How to remove the MK7 Headlight (Including pictures of the dreaded retaining Clip MWHAHAHAHAHAHAH ... pfft )
# How to Change over the MK7's sidelight, dipped beam & Indicator bulbs
# How to Safely replace the MK7 Headlight back into the mounting
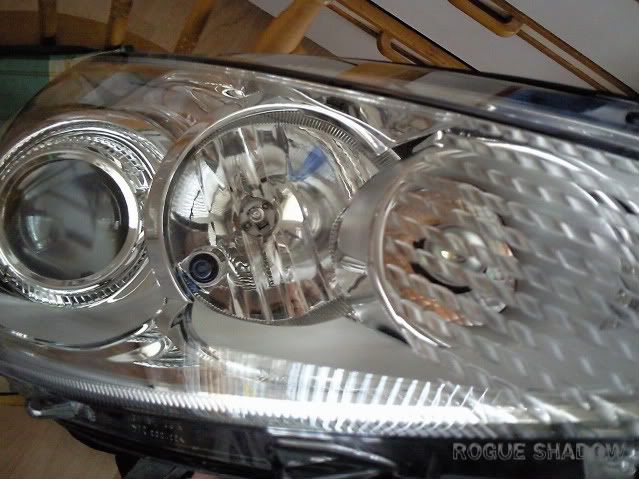
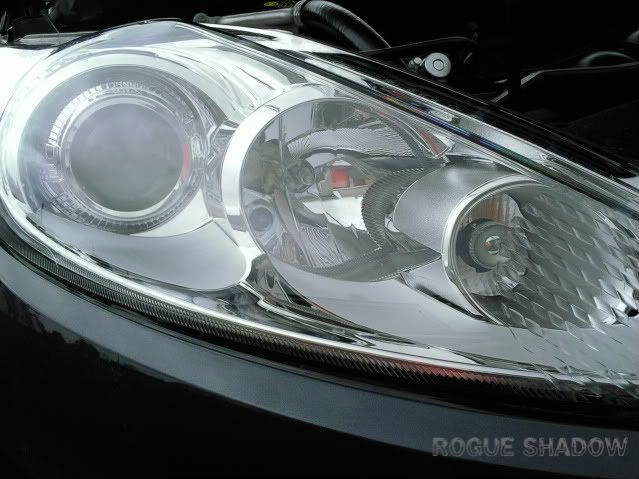
MK7 Bulb Types
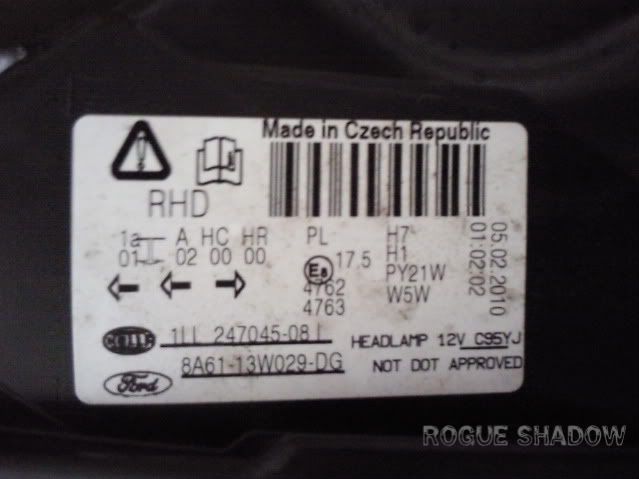
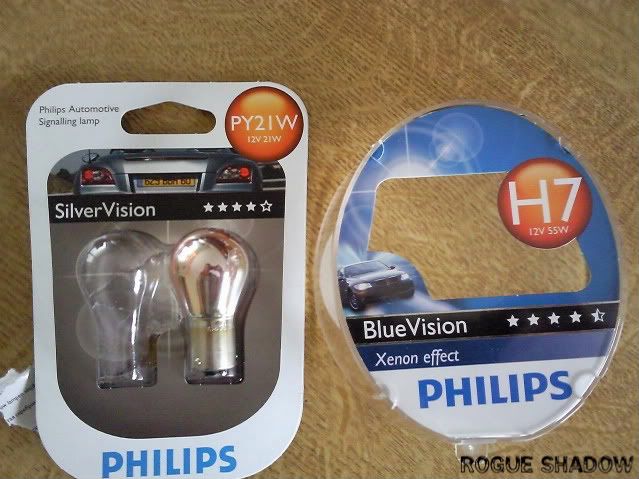
Here is a brief list of the Bulbs for the MK7 Fiesta, these are also noted in your handbook.
Front Lights:
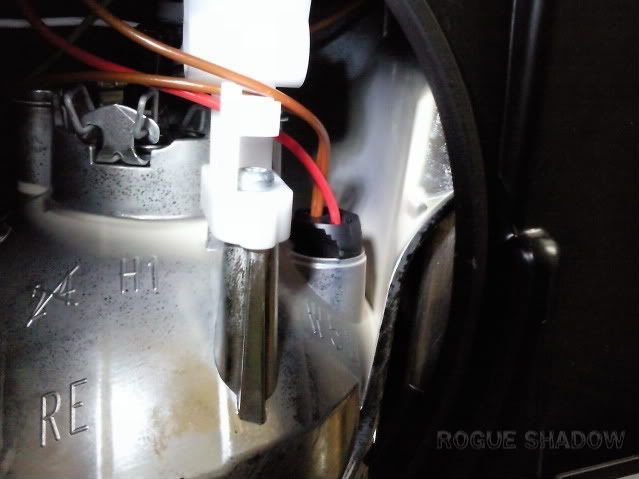
Fullbeam - H1
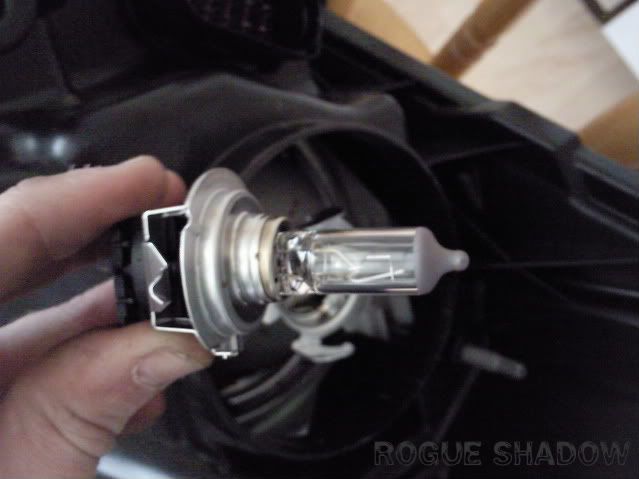
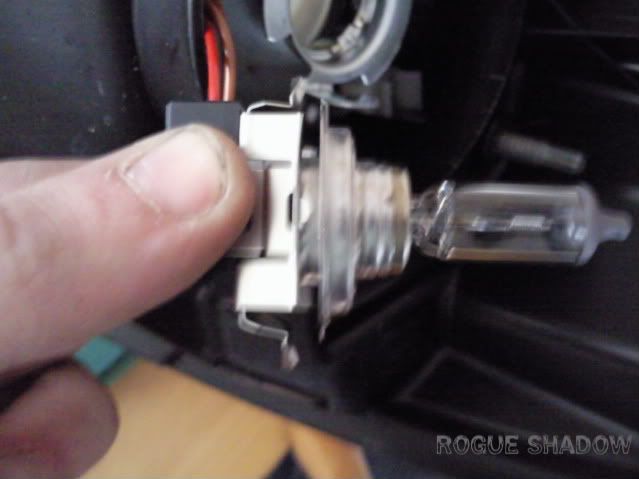
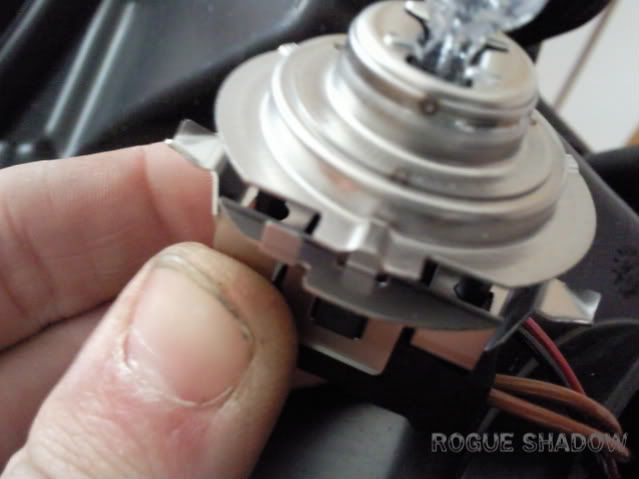
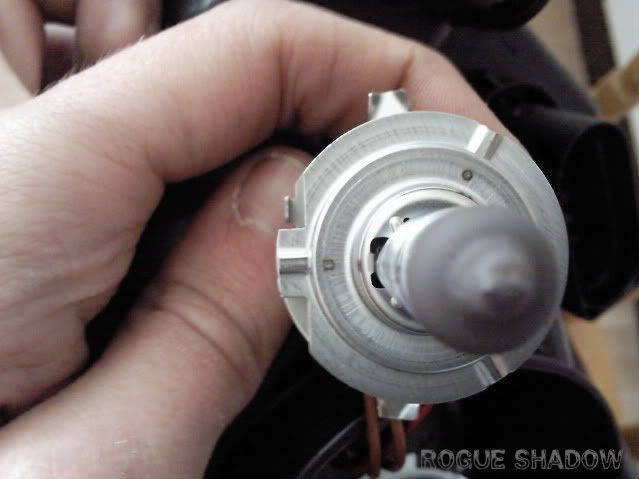
Dipped beam - H7
Sidelights - W5W
Front Fogs - H11
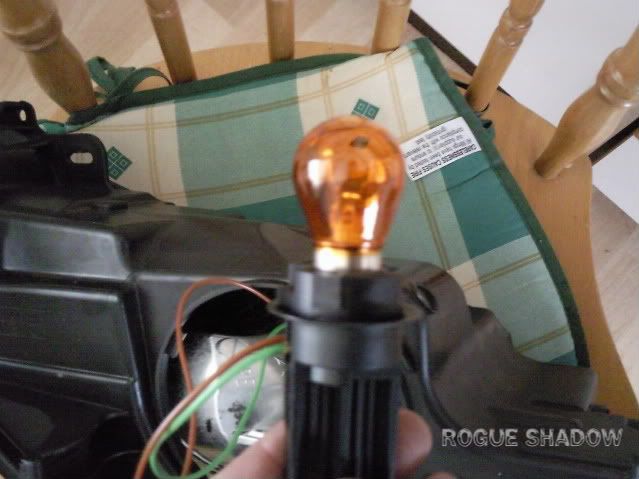
Front indicators - PY21W
Side (wing mirror) indicators - WY5W
Interior lights:
Interior light - W6W
Reading lights - W5W
Footwell lights - W5W
Rear indicators - PY21W
Brake & tail light's - P21/5W
Rear fog light - P21W
Reversing lights - W16W
Number plate lights - W5W[/b]
------------------------------
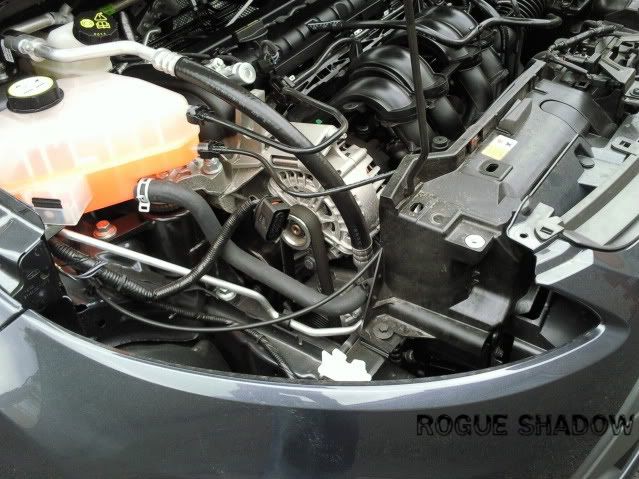
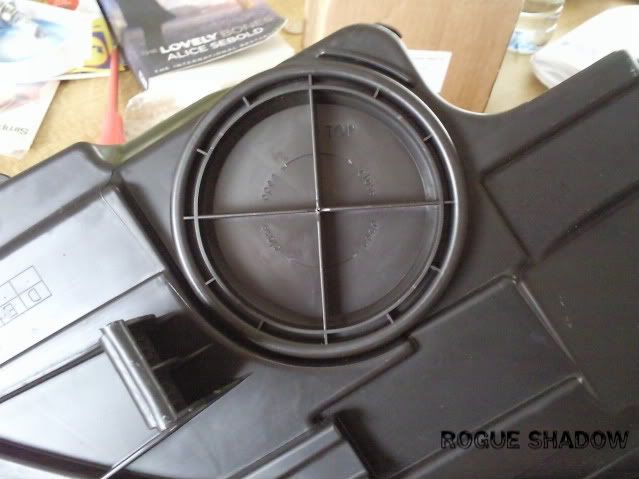
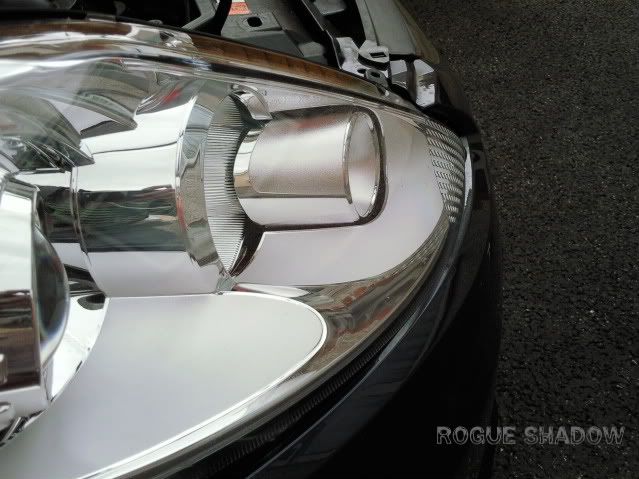
Removing The Headlight:
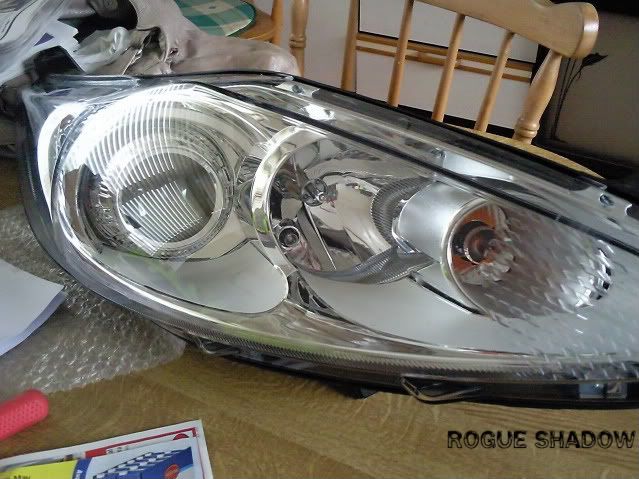
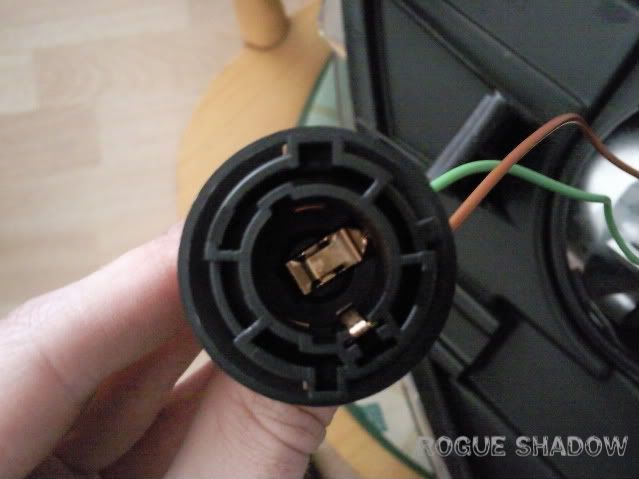
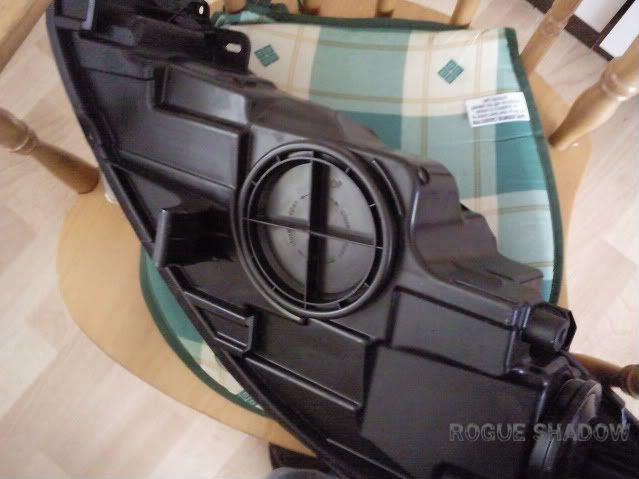
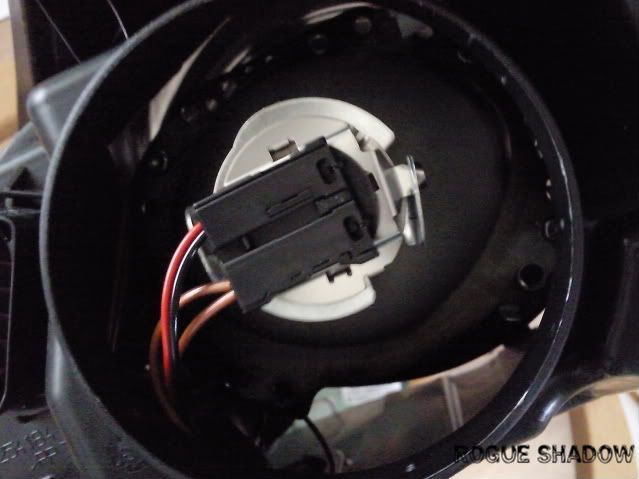
To Replace ANY bulbs in the headlight, the headlight itself must first be removed.

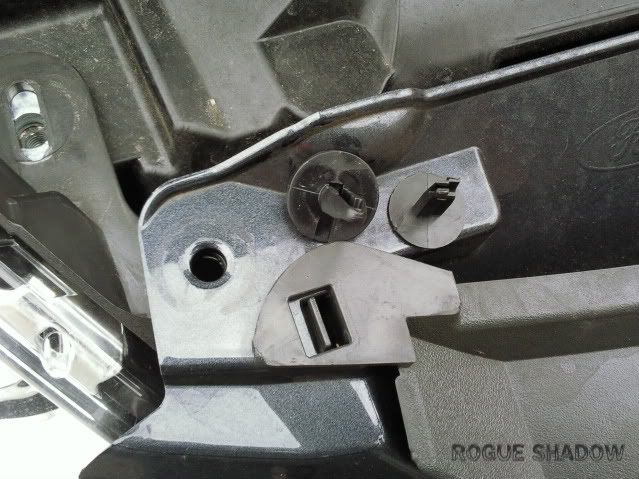
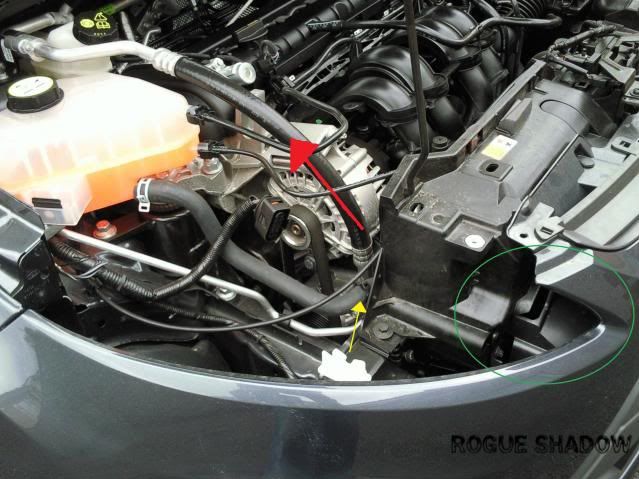
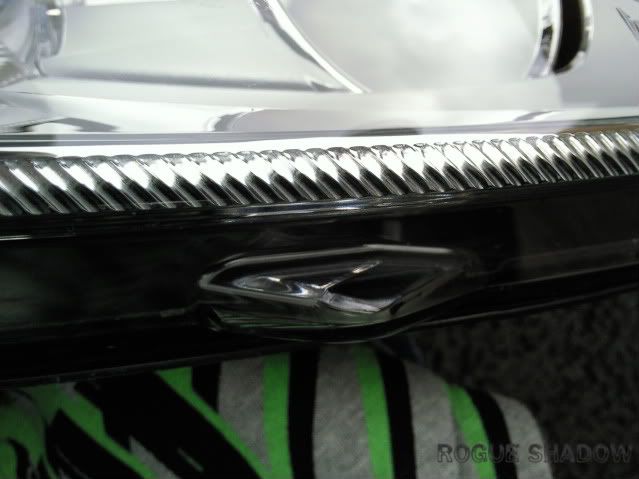
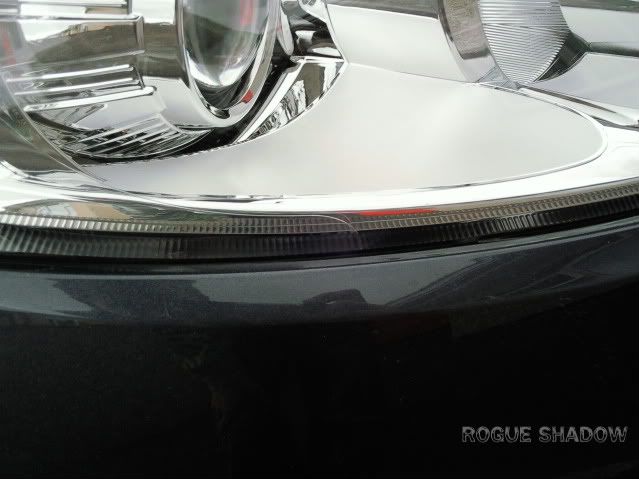
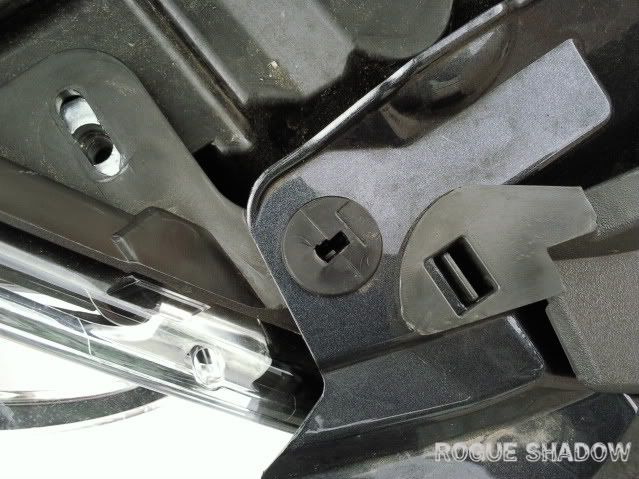
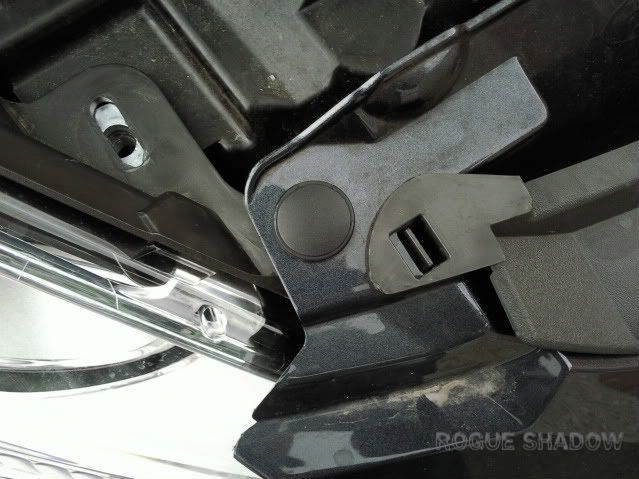
The Headlight is fixed to the car by 2 bolts, 1 plastic rivet & 1 clip at the bottom (More on this later)
One bolt at the top of the headlight -
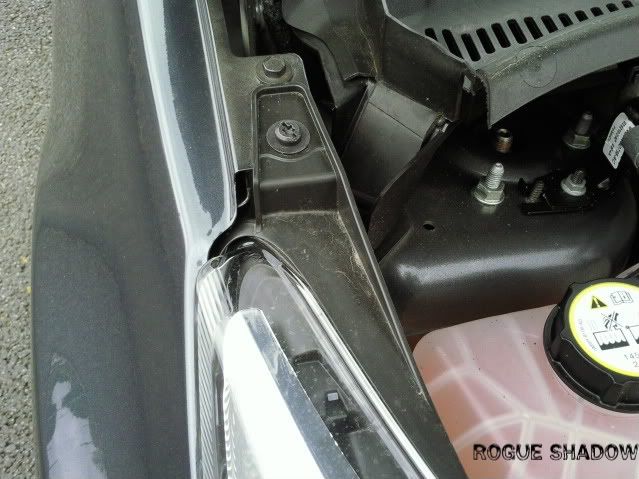
One bolt & a Rivet at the bottom of the headlight -
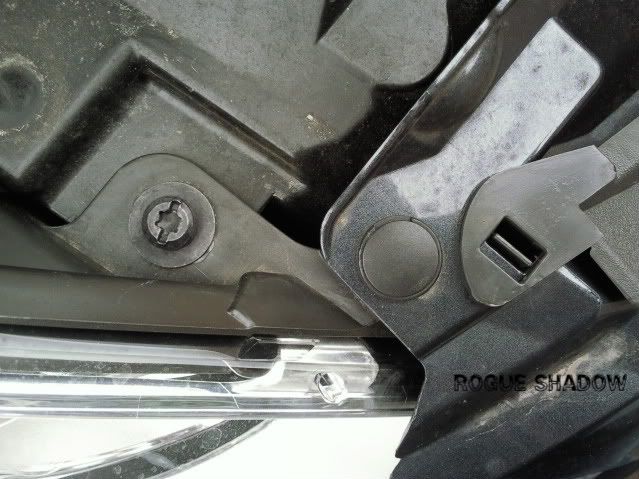
The bolts simple unscrew, store the washer and bolt some where safe. The rivet comes in two parts, both simple pop out and do not require any other motion. There is a small gap that allows you to get your finger nail or screw driver underneath the first part and pull it out.
After the first is removed, the bottom part pops out also
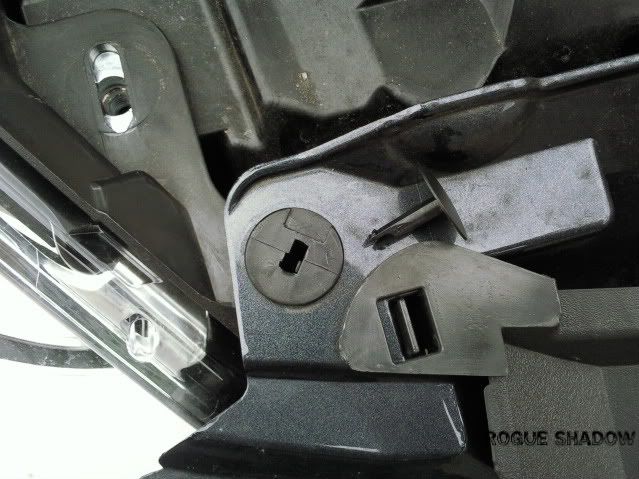
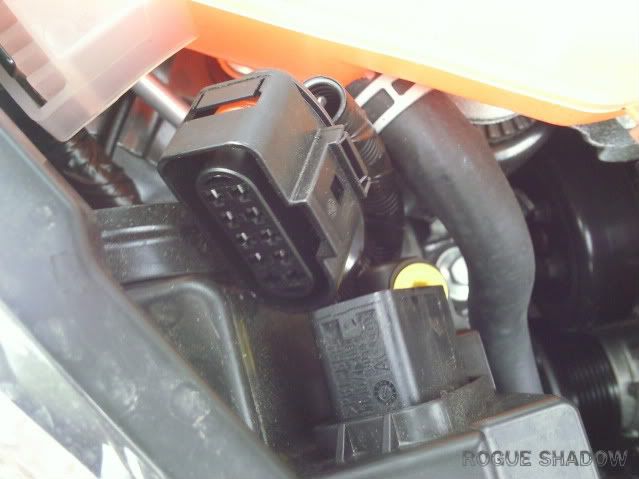
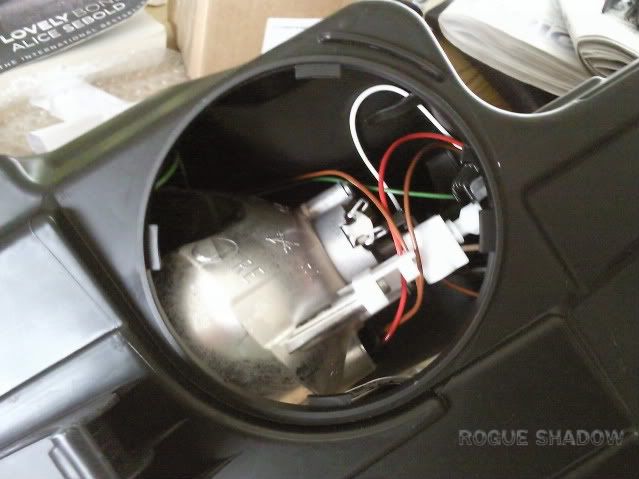
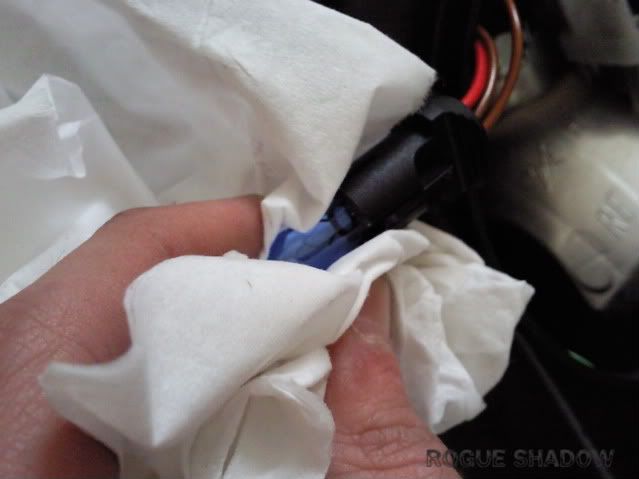
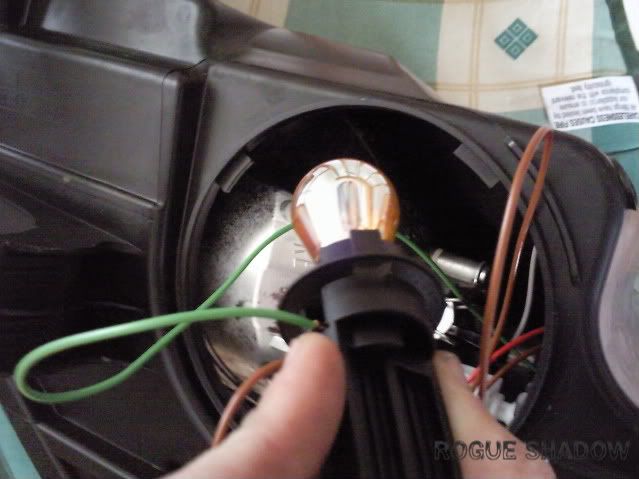
Before removing the headlight, you need to remove the electrical connector (The purple plug)
The best method to remove this, is to prize a flat head screw driver in and underneath the clip & tilt.
You will hear a small click & with the screwdriver still in place the connector can be removed.
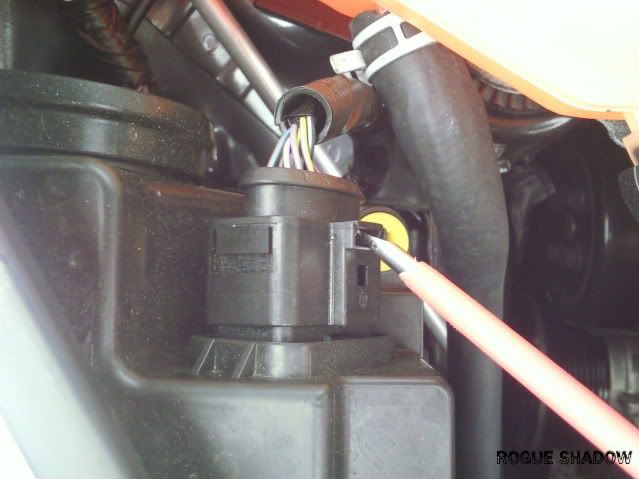
DO NOT pull the connector from the wires, the connector should come out fairly easily with the screw driver in place.
I removed mine with thumb and fingers of my left hand ... very little struggle at all.
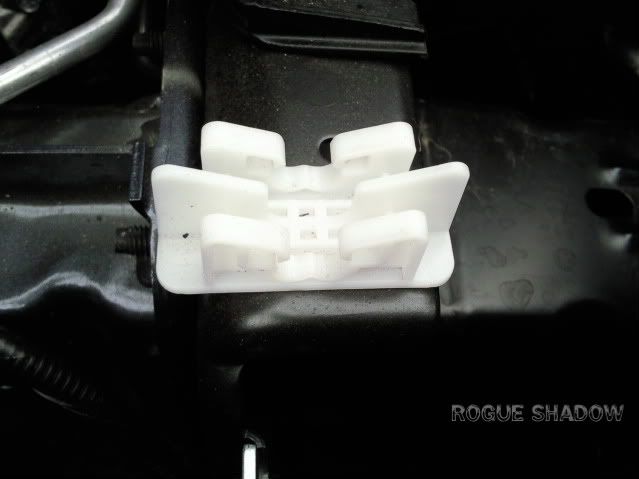
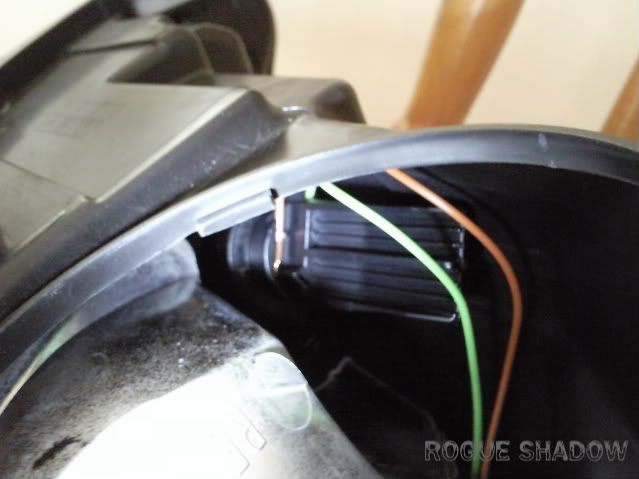
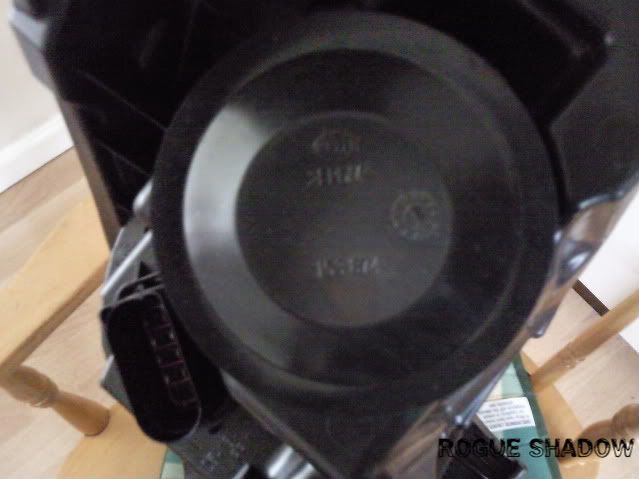
The Headlight is anchored in with little tabs on the headlight itself

So the best method to remove the headlight is to tilt the headlight slightly away from the engine bay and then pull the headlight up and towards the windscreen.
Place one hand underneath the headlight nearest the bottom (grill) and another underneath the top section where the first bolt was removed. Keep reading if you need more help.


")